> ## Documentation Index
> Fetch the complete documentation index at: https://docs.comify.io/llms.txt
> Use this file to discover all available pages before exploring further.
# Audience
> Define who receives your email campaign.
The first step in creating an email campaign is selecting your audience — the group of contacts who will receive the email.
## Getting Started
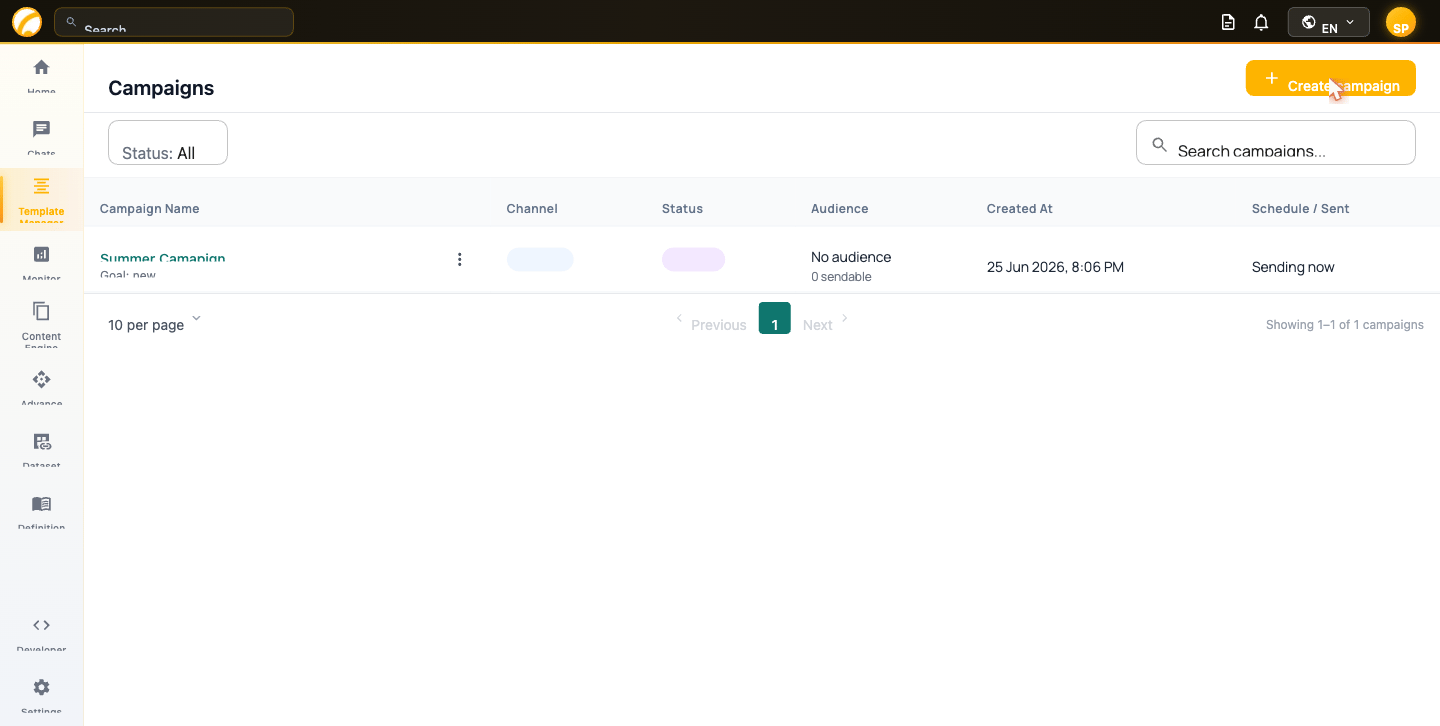
From your Comify dashboard, navigate to **Campaigns** and click **Create Campaign**.
 You'll land on the Audience step. Click **Upload CSV** or **Select existing** to attach your audience.
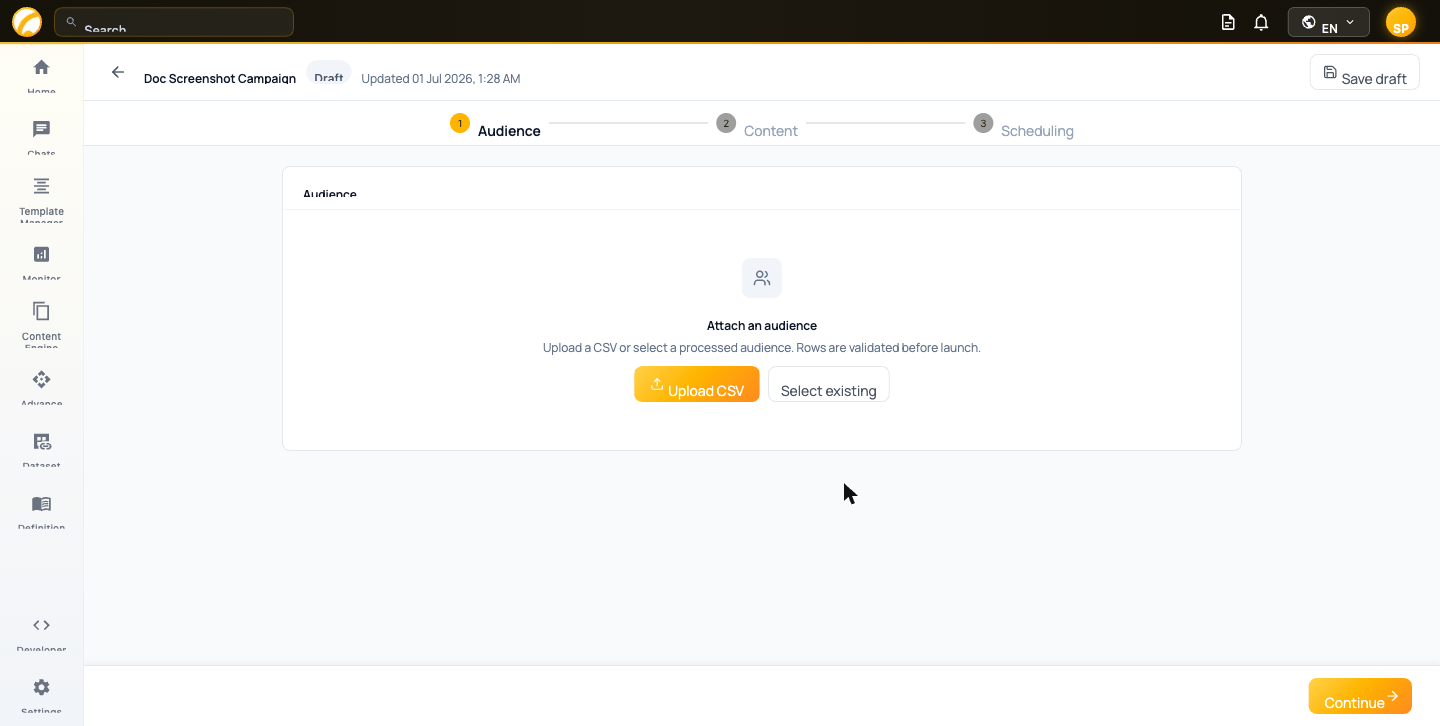 ## Attaching an Audience
Upload a new CSV file with your contacts. Rows are validated before the campaign launches. Each column in your CSV becomes an available field for variable mapping later.
Pick from a previously uploaded audience list. New uploads appear as "pending" until processing completes.
### Selecting an Existing List
Click **Select existing** to open the audience picker. You'll see all your campaign audience lists with their contact counts, email counts, status, and last updated time.
## Attaching an Audience
Upload a new CSV file with your contacts. Rows are validated before the campaign launches. Each column in your CSV becomes an available field for variable mapping later.
Pick from a previously uploaded audience list. New uploads appear as "pending" until processing completes.
### Selecting an Existing List
Click **Select existing** to open the audience picker. You'll see all your campaign audience lists with their contact counts, email counts, status, and last updated time.
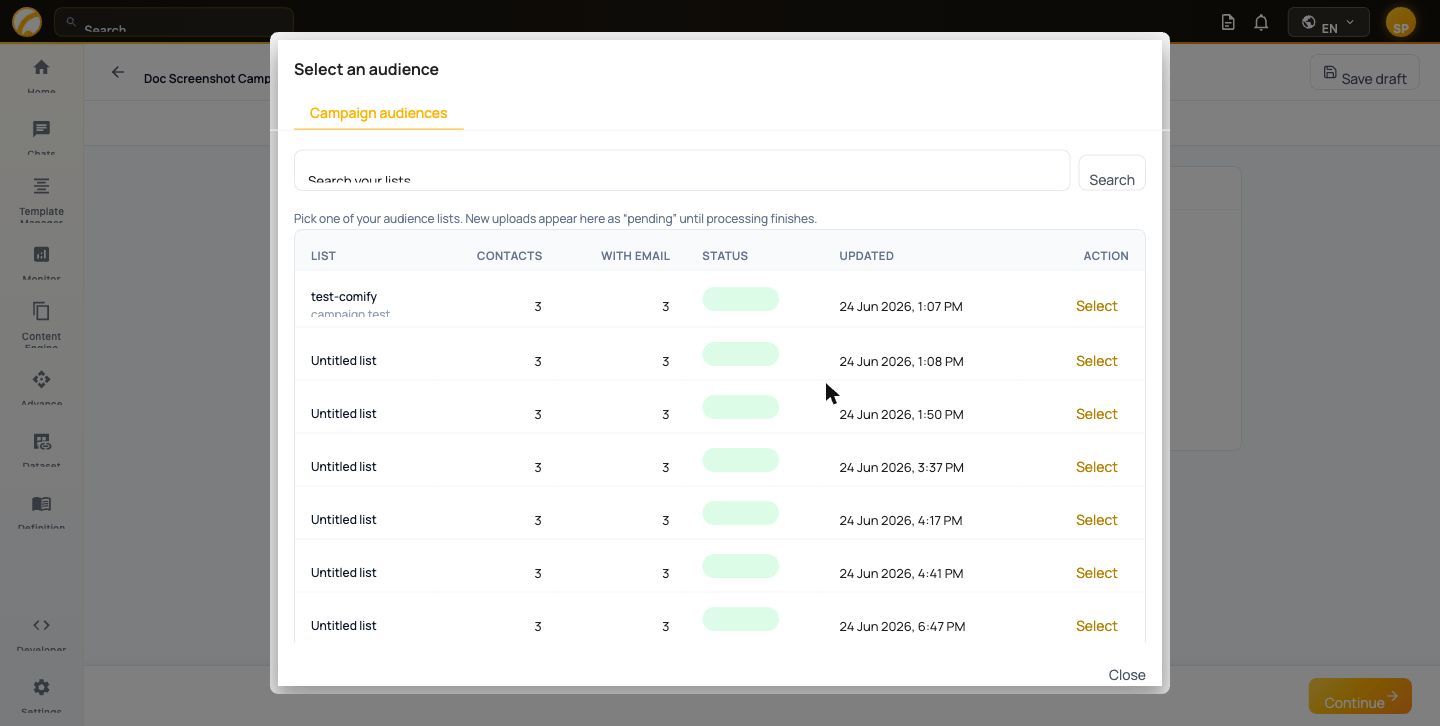 Click **Select** next to the list you want to use.
## After Attaching an Audience
Once an audience is attached, Comify shows a summary of the list:
Click **Select** next to the list you want to use.
## After Attaching an Audience
Once an audience is attached, Comify shows a summary of the list:
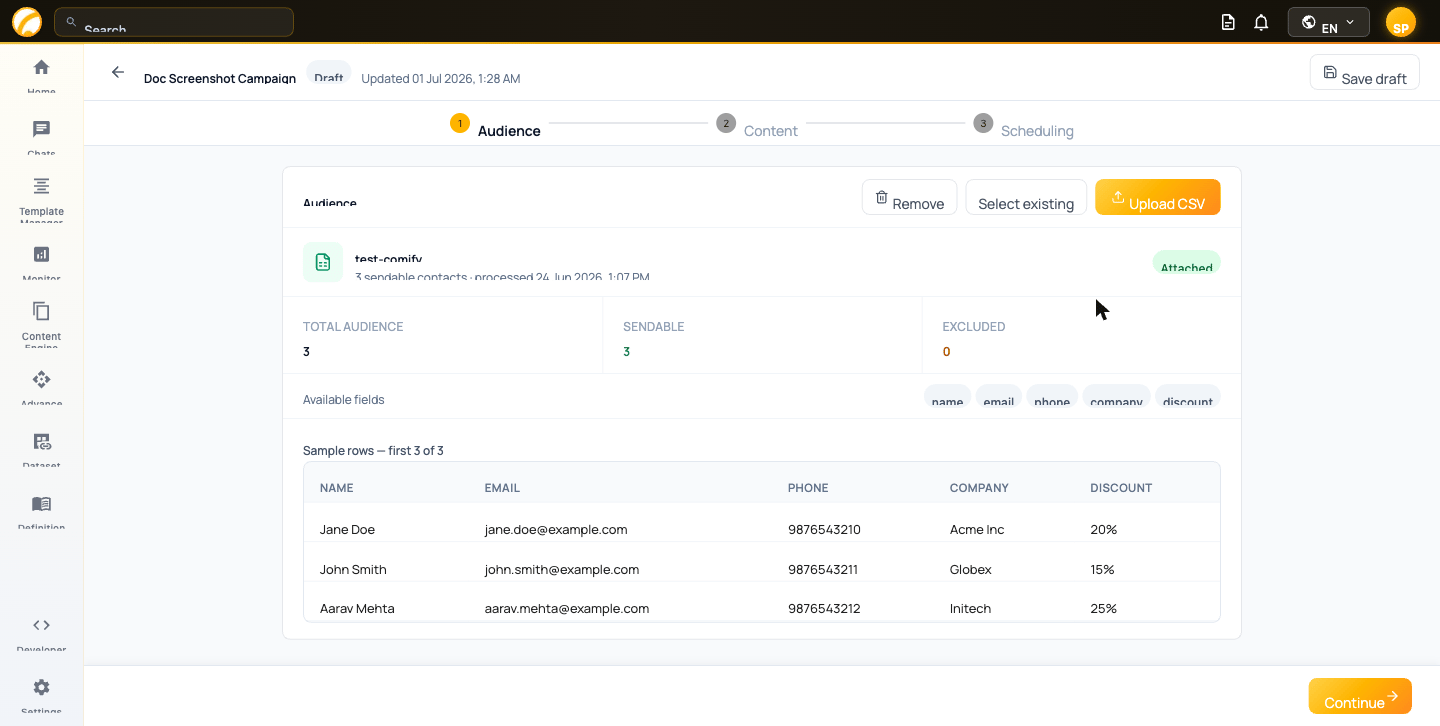 | Field | Description |
| ------------------ | ------------------------------------------------------------------- |
| **Total Audience** | Total number of contacts in the list |
| **Sendable** | Contacts with a valid email address who will receive the campaign |
| **Excluded** | Contacts skipped due to missing email, unsubscribes, or suppression |
Below the summary you'll see the **Available fields** from your CSV (e.g. name, email, phone, company, discount) — these are the columns you can map to template variables in the next step.
A sample of the first few rows is shown so you can verify the data looks correct before proceeding.
Contacts without a valid email address are automatically excluded from campaign sends.
## Next Step
Once your audience is attached and the sendable count looks right, click **Continue** to move to the [Content](/campaigns/content) step.
| Field | Description |
| ------------------ | ------------------------------------------------------------------- |
| **Total Audience** | Total number of contacts in the list |
| **Sendable** | Contacts with a valid email address who will receive the campaign |
| **Excluded** | Contacts skipped due to missing email, unsubscribes, or suppression |
Below the summary you'll see the **Available fields** from your CSV (e.g. name, email, phone, company, discount) — these are the columns you can map to template variables in the next step.
A sample of the first few rows is shown so you can verify the data looks correct before proceeding.
Contacts without a valid email address are automatically excluded from campaign sends.
## Next Step
Once your audience is attached and the sendable count looks right, click **Continue** to move to the [Content](/campaigns/content) step.