Getting Started
From your Comify dashboard, navigate to Campaigns and click Create Campaign.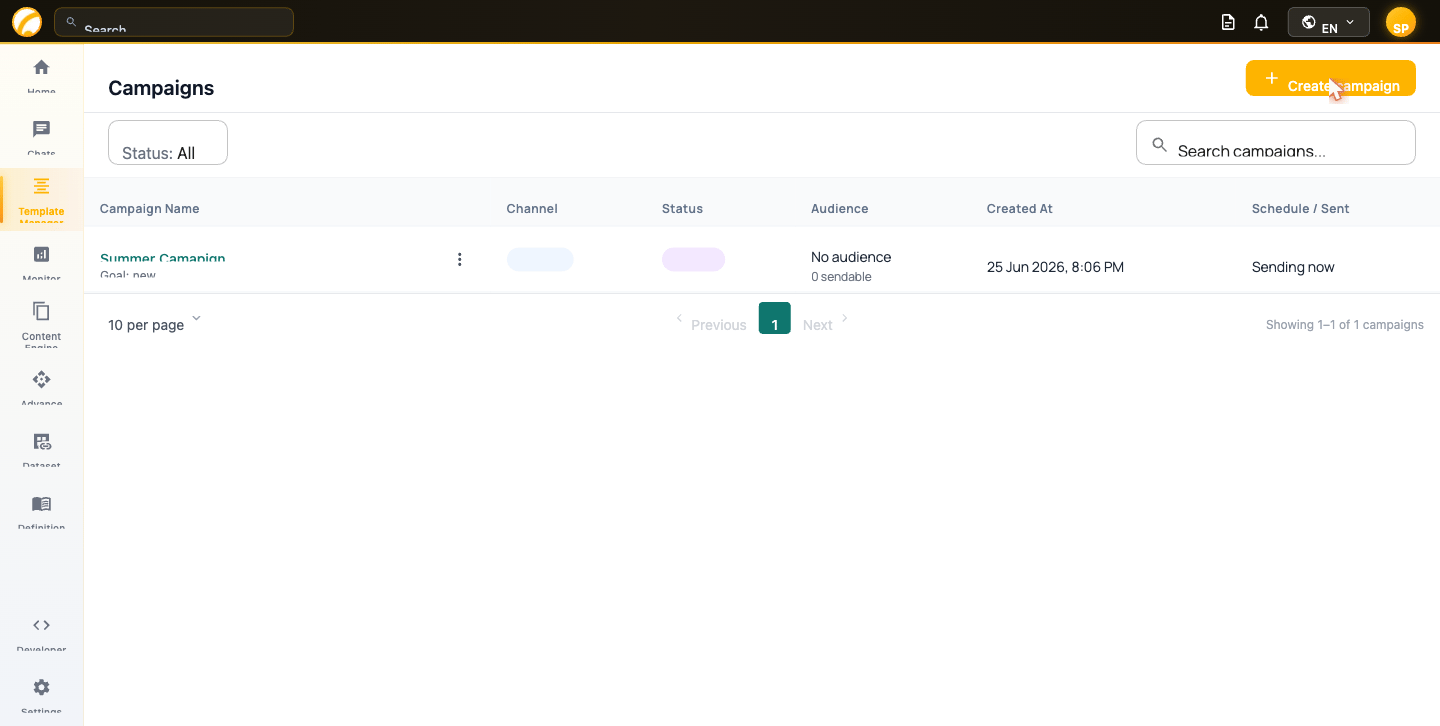
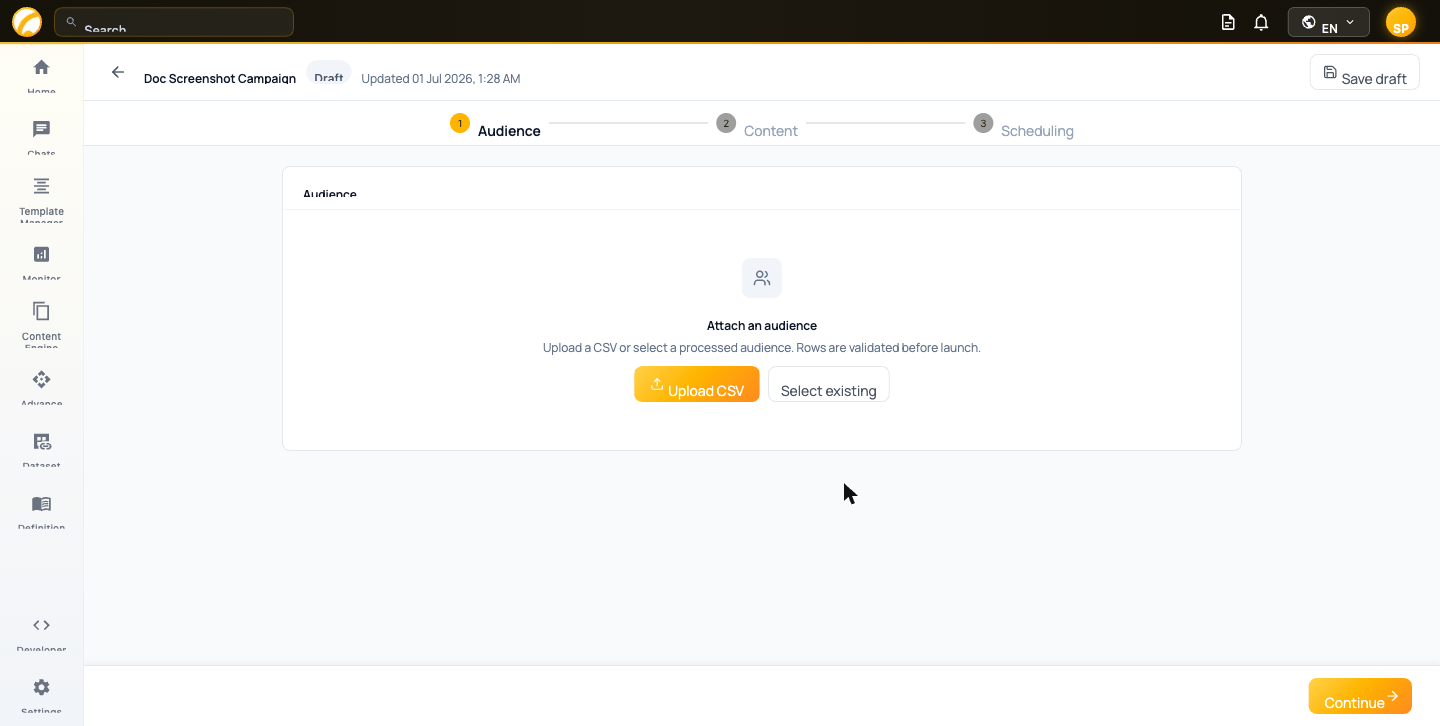
Attaching an Audience
Upload CSV
Upload a new CSV file with your contacts. Rows are validated before the campaign launches. Each column in your CSV becomes an available field for variable mapping later.
Select Existing
Pick from a previously uploaded audience list. New uploads appear as “pending” until processing completes.
Selecting an Existing List
Click Select existing to open the audience picker. You’ll see all your campaign audience lists with their contact counts, email counts, status, and last updated time.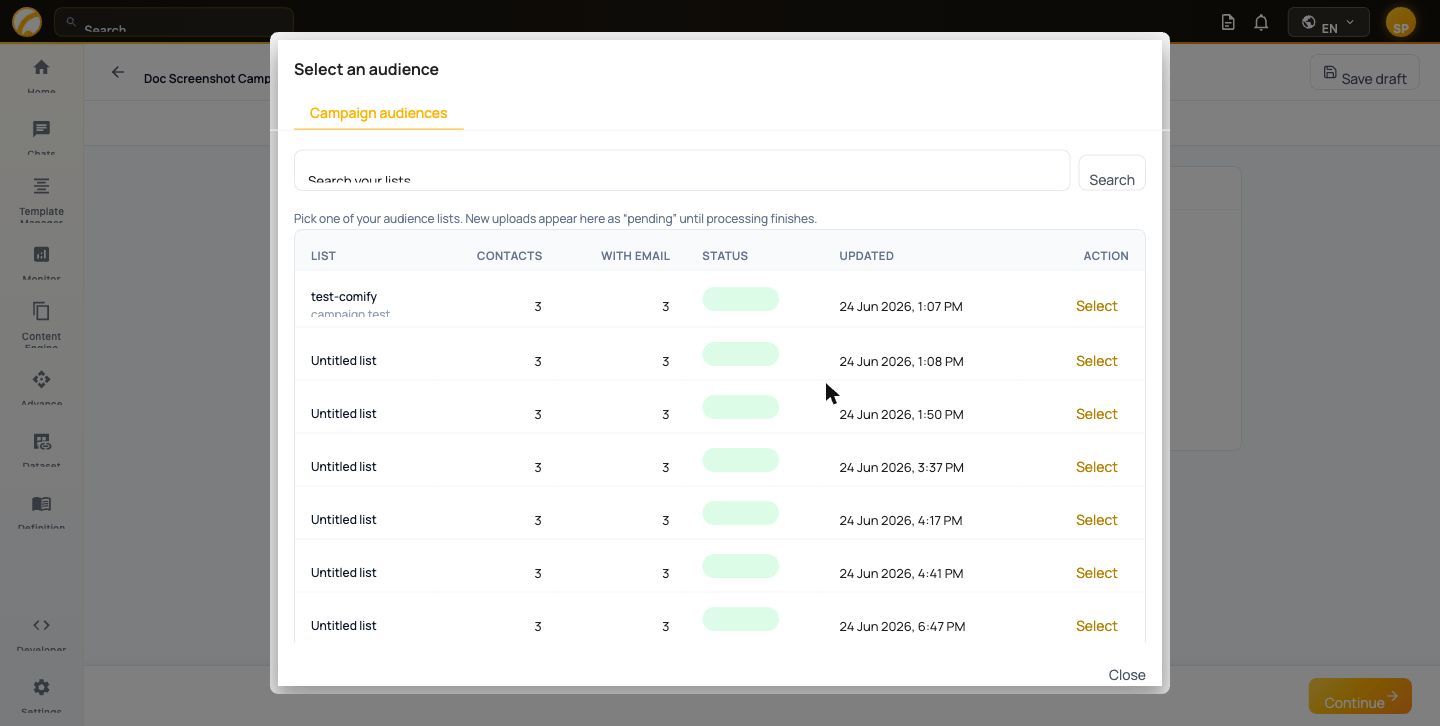
After Attaching an Audience
Once an audience is attached, Comify shows a summary of the list: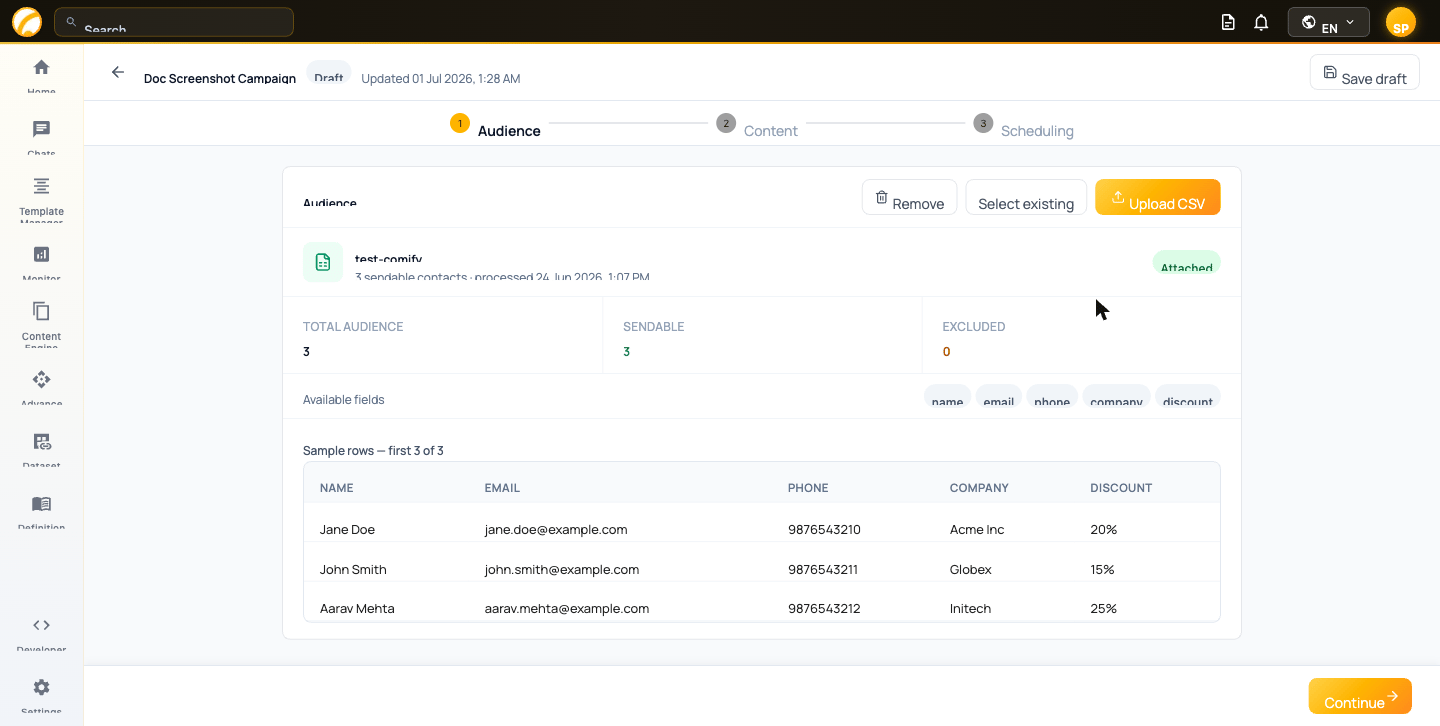
| Field | Description |
|---|---|
| Total Audience | Total number of contacts in the list |
| Sendable | Contacts with a valid email address who will receive the campaign |
| Excluded | Contacts skipped due to missing email, unsubscribes, or suppression |