Getting Started
Implementing the Mandrill email provider requires three primary steps: creating a Mandrill account, generating a Mandrill API key, and configuring the Mandrill integration within your Comify platform.Creating a Mandrill Account
Follow these steps to set up your Mandrill account:- If you already have a Mailchimp account with a Standard plan or higher, you can enable Mailchimp Transactional (formerly Mandrill) from the Monthly plans or credits page.
- If you don’t have a Mailchimp account, visit Mailchimp’s official website and select “Sign Up Free”.
- Enter all required information to create your account.
- Complete the security verification process for both your email address and phone number.
- Once verification is complete, upgrade to a Standard plan or higher to access Mailchimp Transactional features.
- Navigate to the Transactional Email section in your Mailchimp dashboard to set up your sending domain.
Creating a Mandrill API Key
Follow these steps to generate and secure your Mandrill API key:- Navigate to the Settings of your Mailchimp Transactional account.
- Look for the API Keys section and click “Create New Key”.
- Assign a descriptive name to your key (e.g., “Comify Integration”) for easy identification.
- Copy the generated key immediately and store it in a secure location. Important: For security purposes, you won’t be able to see or copy the key once you finish generating it.
- Remember that your Mandrill API key provides full account access, so keep it secure, as you would a password.
Creating a Comify API Key
Before configuring the Mandrill integration, you’ll need to generate a Comify API key for authentication:- Access your Comify account dashboard.
- Navigate to the API Keys management section at https://cloud.comify.io/settings/api-keys.
- Select “Generate API Key” if not already generated.
- Provide a clear, descriptive name for your key (e.g., “Mandrill Integration”) to facilitate future management.
- Copy and store this API key in a secure location. You’ll use this key in your application code to authenticate requests to the Comify platform.
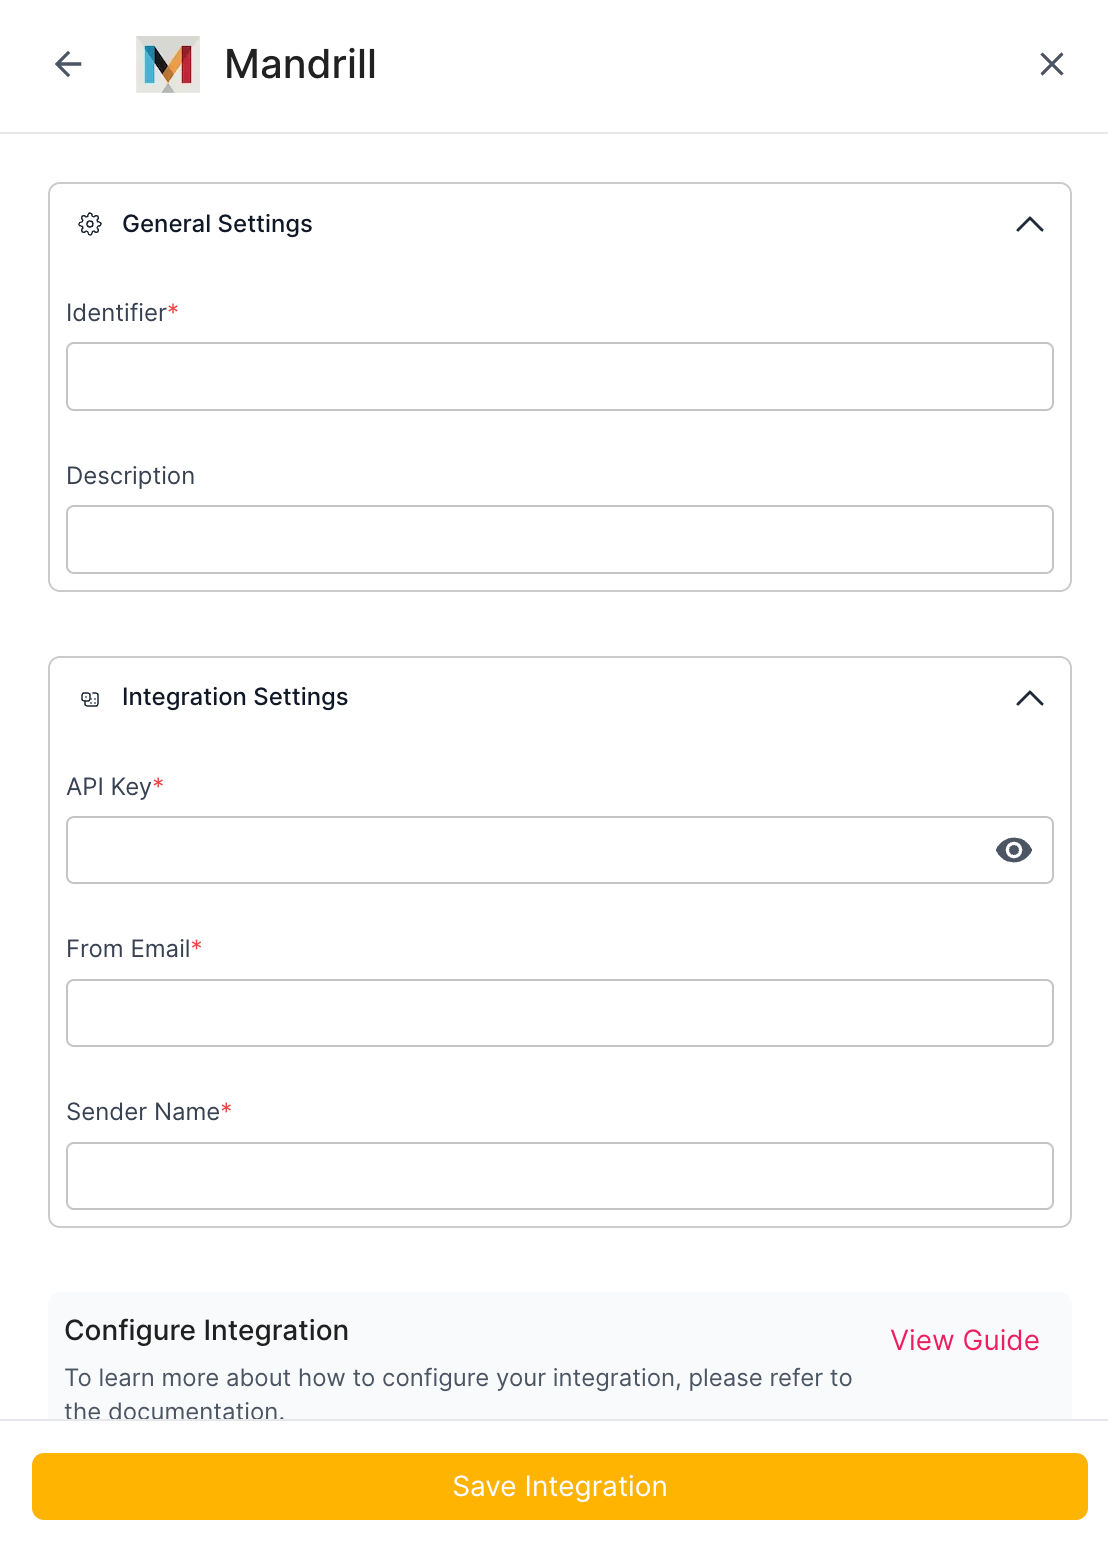
Configuring Mandrill Integration in Comify
To establish the connection between Comify and Mandrill:- Sign in to your Comify platform dashboard.
- Navigate to Integration Store > Add Integration > E-mail.
- From the available email service providers, select Mandrill.
- Enter the Mandrill API key you generated earlier.
- Configure any additional provider-specific settings according to your requirements.
- Click Save to finalize the integration.
Creating Email Templates
After successfully configuring the Mandrill integration, you can design email templates directly within the Comify platform:- Navigate to the Manage Templates section in your Comify dashboard.
- Select the
Emailtab from the available channel options. - Click
Create Templateto begin the design process. - Choose from multiple template creation methods based on your preference and skill level:
- AI-Assisted Design: Utilize the
AI Writerfeature in the Email Editor section for automated content generation. - Manual HTML Editing: Select
Switch to HTMLin the Email Editor for direct code editing. - Import Existing Templates: Use the Chrome extension to copy HTML from existing templates for reuse in Comify.
- AI-Assisted Design: Utilize the
Sending Email Templates
Implement the following code examples in your application to trigger email template delivery:- Node.js
- Node.js (Fetch)
- Python
- Ruby
- PHP
- Go
- Curl