
1. Select a template
Click Choose template to pick a published/live SMS template, or Create SMS template to open the template builder in a new tab.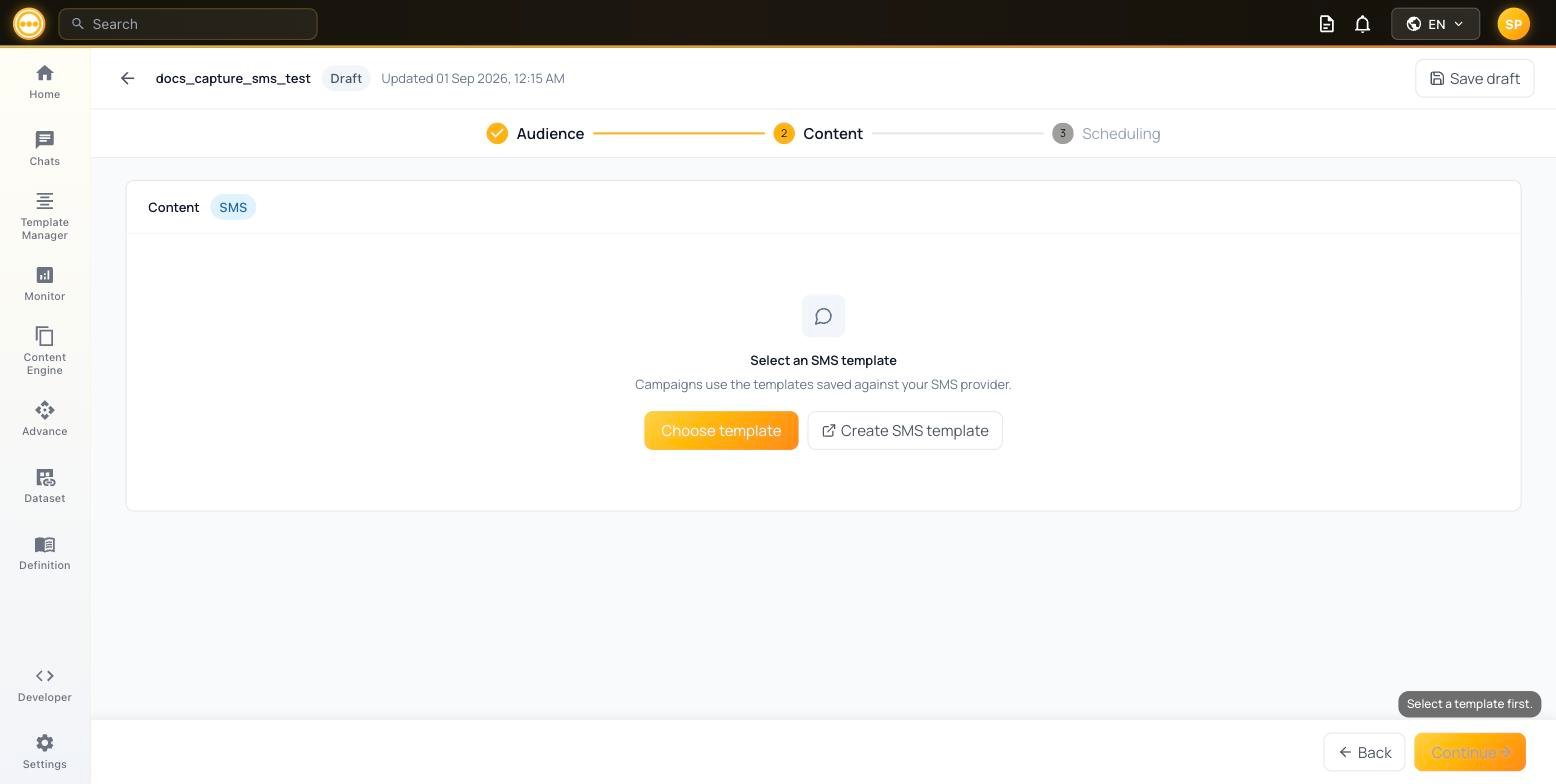
SMS campaign — Content step and template picker
2. Variable mapping
Once a template is selected, every variable it contains (e.g.{{phone}}, {{first_name}}) is listed in a Variable mapping table with a Map to field dropdown — populated from your attached audience’s columns — and a Fallback value.
3. Message preview & test
The Message preview panel on the right renders the template with your mapped values, as a real SMS bubble. Click Send test to send a real test message using your fallback values.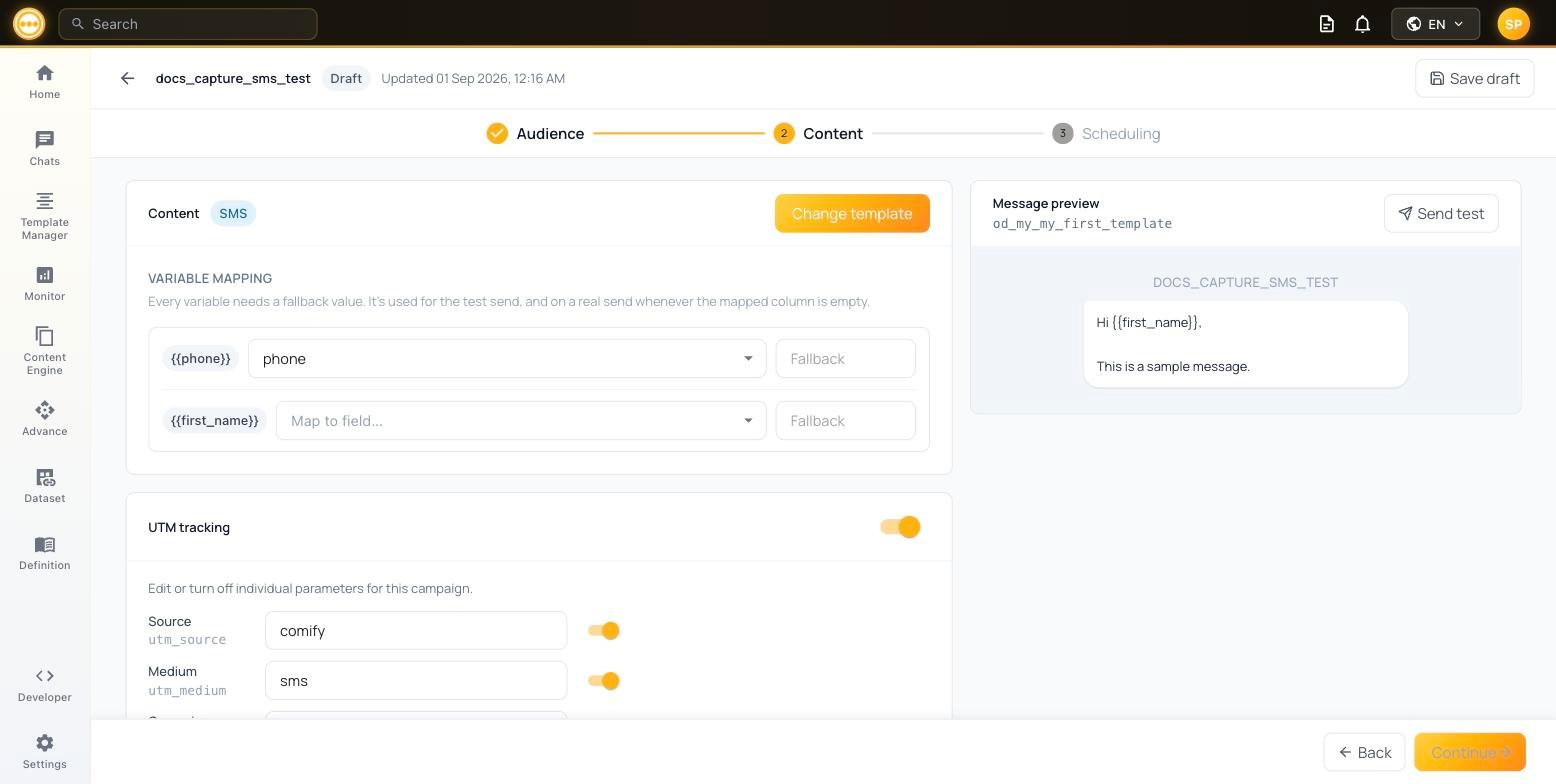
SMS campaign — live preview and Send test
4. UTM tracking
UTM tracking is enabled by default. Scroll down to review or edit the parameters appended to any links in your message.
Each parameter is individually toggleable, and an example tagged link is shown at the bottom so you can verify the full URL before sending.